


KnobMan Online Help
16.Simple Tutorial
Simple Tutorial
Run the KnobMan. There are 3 layers from begining.
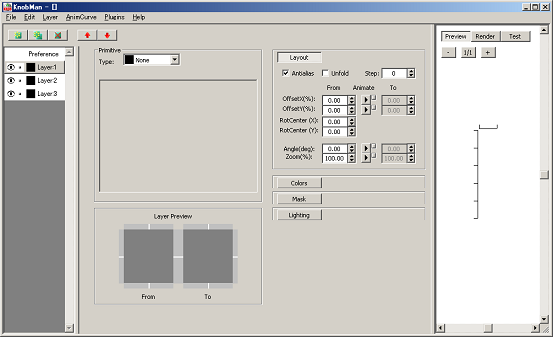
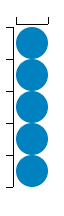
Okay. Select 'CircleFill' primitive for Layer 1.


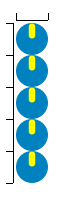
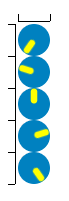
Then the preview window display 5 red circle fills. In default, the preview frames are setup to five.
Change the primitive color to you want. Press the 'Color:' rectangle in the primitive pane and select color. It will be the knob body

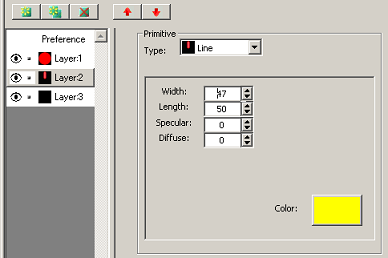
Next, make indicator. Select Layer-2, and Select 'Line' for primitive.
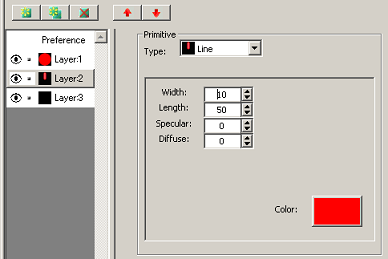
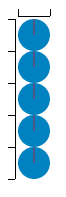
Make the line a little bold by 'Width' parameter, and choose the color.
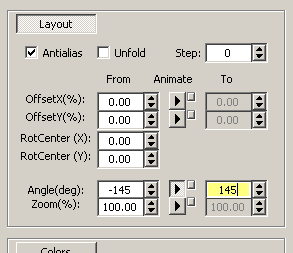
The indicatior should be rotate! Edit the 'Angle' parameter in the 'Layout' group.... From -145 ? (in degree)
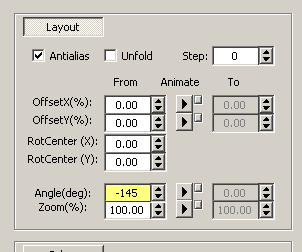
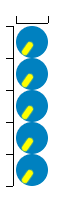
Yes, To +145 degree. You can see the preview of rotating indicator.
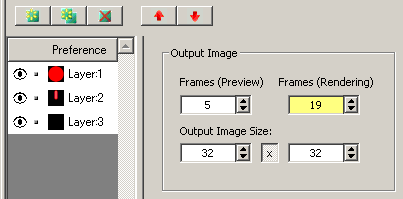
Okay, what size do you need? Press the 'Prefrence' tab. and edit the bitmap size and the number of frames for rendering.
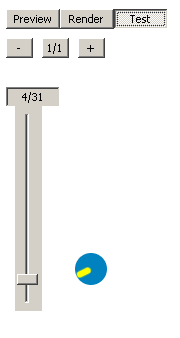
You can comfirm the output image by select 'Render' mode or 'Test' mode in the priview pane.
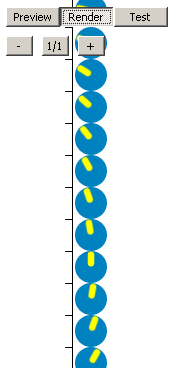
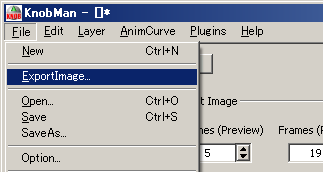
Output the image from 'File'-'Export Image' menu.
The strip image is here!!

Return